Triangular Tessellations with GeoGebra
Objective: Use GeoGebra to create tessellations with triangles. Doing the construction on the computer allows you to change the shape of your original triangle and see how the tessellation changes.
- Go to http://www.geogebra.org/webstart/geogebra.html to load a web-based applet version of GeoGebra.
- Go to the View menu and unselect the "Axes" and "Algebra View" options. You should now have just a blank window to work with.
- Use the "Segment between Two Points" tool to draw a segment.

[Note: Menus are shown with the default tool shown at top. Select the mentioned tool from this menu.]
Then draw two more segments to make a triangle. - Construct the midpoint of one side of the triangle. To do this, select the "Midpoint or Center" tool shown below

- Construct the triangle's interior by selecting the "Polygon" tool

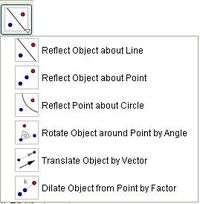
- Rotate the triangle around the midpoint you just made. To do this, first select the "Rotate Object around Point by Angle" tool
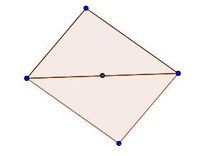
 Your picture should look something like this (probably with a different shape of triangle):
- Try moving the original triangle's corners. Notice that the new triangle changes shape too, and the picture is always a parallelogram. You probably want to save your work at this point.
- Use translations to finish the tessellation.
To do a translation, you first need to specify the length and direction, which is called a "Vector". To create a Vector, select the "Vector between Two Points" tool

and click on two of the points you used to create your original triangle (not the two which created the diagonal of the parallelogram). You should now see an arrow along that segment. Select the "Translate Object by Vector" tool

and then use the mouse to select your parallelogram by dragging a rectangle around your parallelogram and then clicking on the Vector you created.
-
Keep making copies (use different translation vectors when you need to), until you fill out a good-sized piece of the plane:

Move the corners of the original triangle. Everything else should change shape with it.
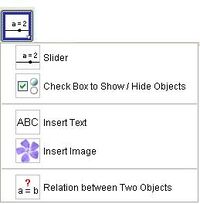
- Add your name to the sketch using the "Insert Text" tool.

- Copy your answers to the following questions on your printed sheet.
- For a random triangle, what symmetries (reflectional and rotational) does the picture have?
- Make the triangle a 45°-45°-90° triangle. Now what symmetries does the picture have?
- Make an equilateral triangle. . Now what symmetries does the picture have?

Handin: A sheet with answers to all questions.
